Bloomwick
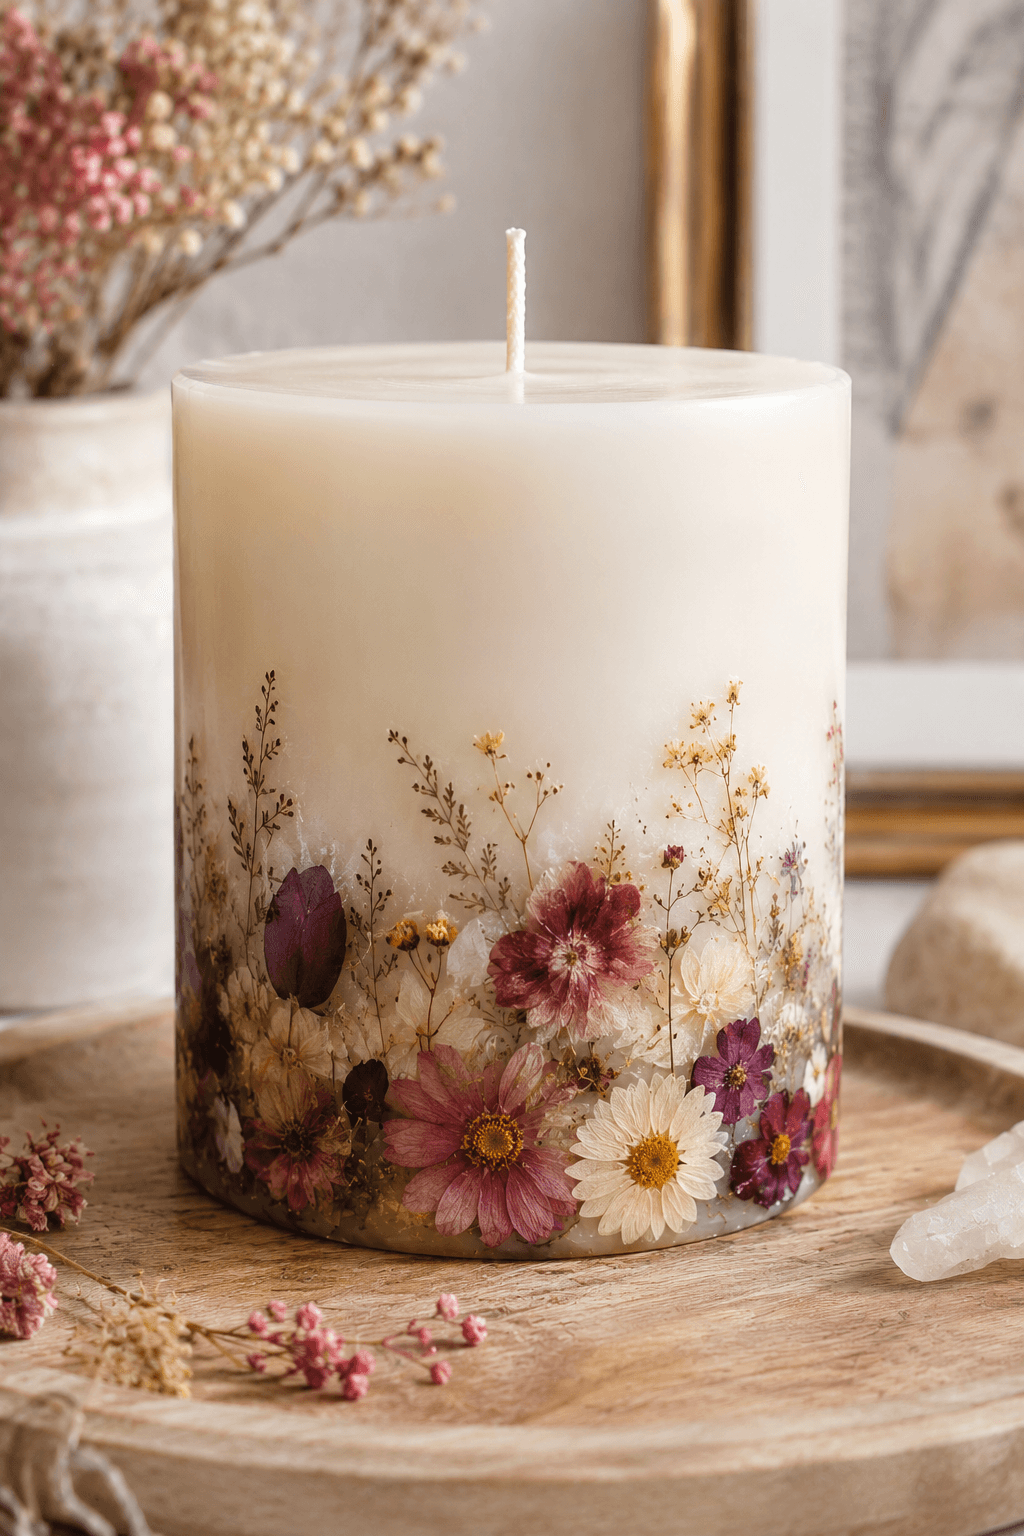
Method 1: The Spoon Method Step 1: Arrange your flowers. Place the pressed flowers around the candle until you're happy with the design. Step 2: Warm the spoon. Light a tea light candle and hold the back of a metal spoon over the flame for 15–20 seconds. Step 3: Attach the flowers. Place a flower on the candle and gently press the warm spoon over it. The wax will soften slightly and secure the flower. Step 4: Continue decorating. Work one flower at a time until your design is complete. Method 2: The Torch Lighter Method Step 1: Place the flower where you want it. Step 2: Briefly pass a torch lighter over the candle surface for just a second or two. Step 3: As the wax softens, gently press the flower into place with your fingers or a spoon. Step 4: Repeat until the design is complete. This method is faster but requires a light touch. You only want to soften the wax, not melt deep grooves into the candle. Optional Boutique Finish Want that smooth, professionally made look and add a scent to the candle? Step 5: Create a Wax Coating Melt some matching candle wax in a heat-safe container. Step 6: Dip the Candle Once the wax is fully melted, carefully dip the decorated candle into the wax and pull it right back out. Step 7: Let It Dry Stand the candle upright and allow the wax to cool completely. The thin layer of wax seals the flowers into the candle and gives it that gorgeous store-bought finish. Helpful Tips Keep most of the flowers near the bottom for a beautiful "garden growing up the candle" effect. Light blue, soft yellow, and white flowers create a dreamy cottage-inspired look. Use flowers of different sizes for a more natural design. One quick dip is usually enough for a smooth finish.
Shop This Look

LUXEEASE 80 Pcs Dried Flowers for Crafts, Real Natural Dried Pressed Flowers in Soft Yellow, White & Pink Tones for Resin, DIY Art, Jewelry, Candle & Soap Making – Tweezers Included

LUXEEASE 140 Pcs Dried Pressed Hydrangea Flowers for Crafts, Real Natural Blooms in Blue, Pink & White Tones with Foliage Accents, Perfect for Resin Art, DIY Jewelry & Home Decor – Tweezers Included

50Pcs Dried Pressed Flowers Resin Mould Real Pressed Flowers Natural Dry Leaves Bulk Mixed Colorful Daisy Herbs Kit with Tweezers for Scrapbooking DIY Candle Jewelry Crafts Making Nails(Purple)

NESCCI Dried Pressed Flowers for Resin, 103pcs Real Nature Dried Flowers for Crafts Bulk Dry Flowers Leaves Kit Used for Resin Molds Scrapbooking DIY Art Crafts Candle Soap Making Nails Décor
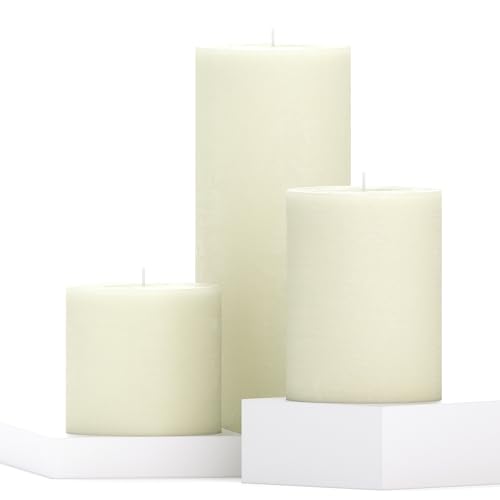
CANDWAX Assorted Pillar Candles Set of 3 – Sizes 3", 4", 8" Unscented Dripless Large Candles, Rustic Style Long Burning for Weddings, Home Decor – Ivory

Stonebriar Unscented White Tall Pillar Candles, 65 Hour Burning Candle Pillars, Perfect for Decor, Weddings, Emergencies 3" X 6", 6 count

Sondiko Butane Torch Lighter with Visible Fuel Window, Refillable Soldering Torch with Adjustable Flame for Welding, Resin Art, Industrial(Butane Gas Not Included)

MontoPack Unscented Tea Light Candles 45 Pack | 4 Hours, White, Smokeless, Dripless Small Votive Paraffin Tealights | Long-Lasting for Home, Shabbat, Weddings, Events, Emergencies | Mini Candles Bulk

Bounty Paper Towels Quick Size, White, 2 Family Triple Rolls = 6+ Regular Rolls

iBuneerly Eyebrows Tweezers Set, 4Pcs Stainless Steel Tweezers for Women with Travel Case, Great Precision for Ingrown Hair, Facial Hair and Splinter Removal

Clean Cotton- Fresh, Calming Cotton Scented Melt- Maximum Scent Wax Cubes/Melts- 1 Pack -2 Ounces- 6 Cubes Gift for Women, Men, BFF, Friend, Wife, Mom, Birthday, Sister, Daughter, Long Lasting
